

The first wall decal set I put up was a tree with many branches and little birds. I bought it at Urban Outfitters last year and it's unfortunately no longer available. I used it to fill up the space in my living/bedroom area to the left of my TV and dresser. It took hours to get all of those little branches up in the right spot without ripping them, but it was worth it in the end!

(click to enlarge)
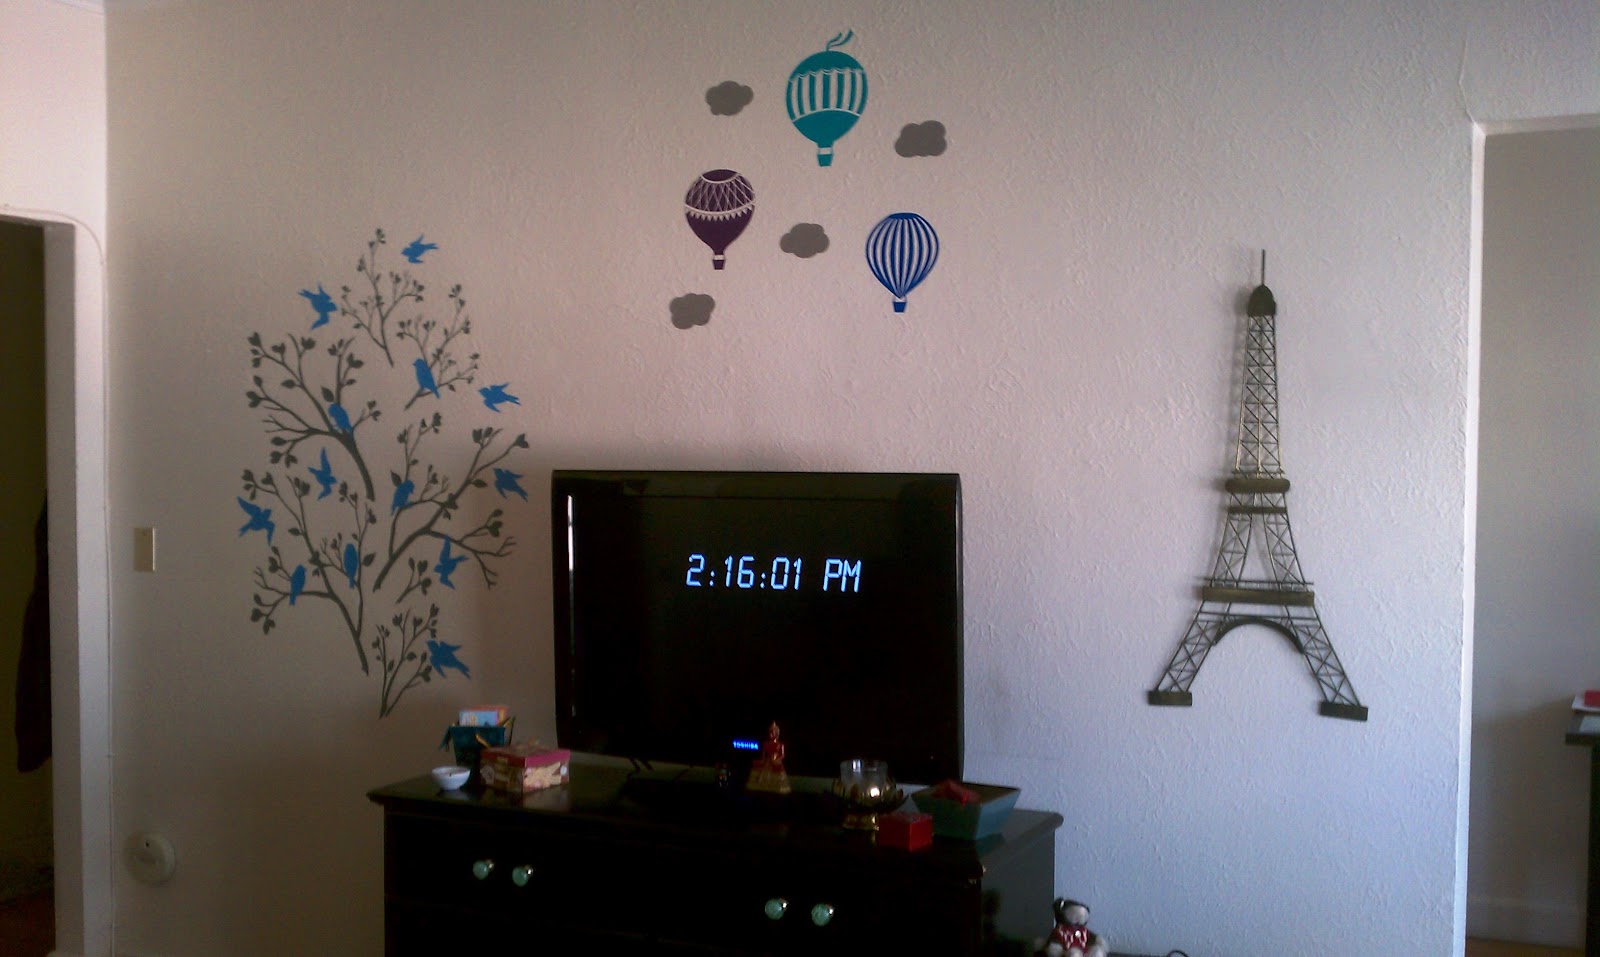
Last week, I decided I wanted to add a few more wall decals to the main room. I ordered these whimsical Victorian Hot Air Balloon decals from tweetheartwallart on Etsy. I fell in love with them immediately because I've always dreamed of riding in a hot air balloon! I also really loved that you could choose the colors of the balloons to fit your decor. My room is decorated in black, white and jewel tones, so I went with turquoise, gentian and violet. I decided to put them up above my TV over the weekend and wanted to share the final result with you.


(click to enlarge)
(click to enlarge)
I'm so happy with how they turned out! I love how it looks like they're flying up above the Eiffel Tower and the trees. :) What do you think?
If you decide to buy wall decals, I have some tips for you on getting them up smoothly and without tearing them.
- tape the unpeeled decals up on the wall before you start to unpeel them. this way you'll be able to get the placement down and you won't have to stick and restick them to move them around which can cause tearing.
- don't worry about getting the placement to be perfectly symmetrical - the decals look best when they are placed at random. have fun with it!
- stick each decal on one at a time. once you've peeled off the front layer and have stuck the decal where you want it to go, use the little plastic tool that comes with the kit to gently scrape over the back layer to get it stuck to the wall. this will make it easier to peel off the back layer.
- when you are ready to take off the back layer, peel it off VERY slowly. this is the most important trick to getting them on right! use the little plastic tool that comes with the kit to press down on the exposed sticker little by little and then keep peeling the backing off.
- it can be tough when there are skinny or small pieces, but just be patient and gentle. keep working slowly and be careful not to rip anything.
The Eiffel Tower one is so cool! It'd be cool if you made an entire Parisian scene around it out of wall decals.
ReplyDeleteMai | logfurnitureplace.com
such a nice piece of article. Thank you for sharing your knowledge. This is a very valuable thing you shared. good stuff!!Wall Decals For Girls Room
ReplyDeleteIt is a proficient article that you have shared here.San diego sunset print wall art for sale I got some different kind of information from your article which I will be sharing with my friends who need this info. Thankful to you for sharing an article like this.
ReplyDeleteThanks for sharing this article here about Wall Decals. Your article is very informative and I will share it with my other friends as the information is really very useful. Keep sharing your excellent work.Removable Wall Decals Australia
ReplyDeleteThe wall decals add such a charming and elegant vibe to the space. It’s amazing how creative touches can completely transform a room. For anyone looking to bring unique decor pieces from abroad, international cargo services in Lahore could be a great solution
ReplyDeleteGreat tips on using wall decals, they really can transform a space without a huge investment, and you make it seem so easy to personalize any room. The before‑and‑after ideas are inspiring and show how much impact small details can have! It’s kind of like how a statement piece like an adidas babymonster jacket can instantly elevate a wardrobe, simple changes, big style!
ReplyDelete